How to Upgrade MariaDB on Webuzo Without Losing Your Data
Webuzo doesn't have a one-click MariaDB upgrade like WHM. Here's the safe, manual process to move from an EOL version to the latest — without touching your app data.

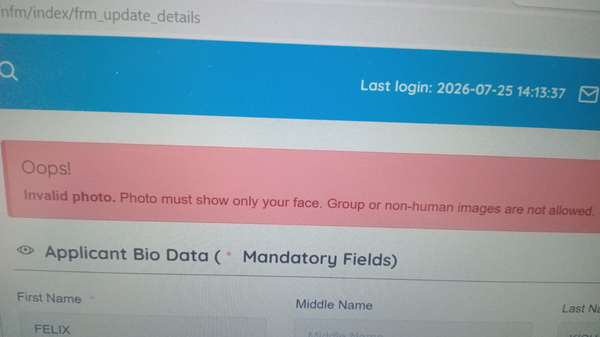
If you manage a server running Webuzo and recently woke up to this message in your control panel:
"The MariaDB version 11.7.0-preview-MariaDB you are using has reached its End of Life (EOL). You are strongly urged to upgrade to a current version, as using this version may expose you to security vulnerabilities and bugs that have been fixed in more recent versions of MariaDB."
You're not alone — and you've probably also noticed that unlike WHM/cPanel, Webuzo offers no automated upgrade wizard for MariaDB. No dropdown, no "Upgrade" button. You have to do it yourself.
Here's exactly how.
Why Webuzo Doesn't Auto-Upgrade MariaDB
cPanel/WHM integrates with the OS package manager and wraps the upgrade process in a polished UI. Webuzo takes a different approach — it bundles its own self-contained application stack (called EMPS) under /usr/local/apps/, separate from system packages. This gives you flexibility and isolation, but it means version upgrades are a manual operation: you install the new version as a system app and force it over the old one.
The good news is that your data is not tied to the binary — it lives in /var/lib/mysql (or your configured datadir) and survives the reinstall, as long as you follow the steps carefully.
Before You Start: Choose Your Target Version
Not all MariaDB releases are equal. The version that triggered the EOL warning — 11.7 preview — was never a stable production release. For an upgrade target, consider:
Version Type EOL
10.11 LTS 2028
11.4 LTS 2029
11.8 Latest stable ~2026
If you want the safest long-term option, go with 10.11 or 11.4 LTS. If you want cutting-edge, 11.8 is the current stable release.
The Upgrade Process
Step 1 — Dump All Your Databases
Open an SSH session to your server and run:
mysqldump -u root -p --all-databases > /root/alldbdump.sql
You may see a message like this:
mysqldump: Deprecated program name. It will be removed in a future release,
use '/usr/local/apps/mariadb117/bin/mariadb-dump' instead
This is just a cosmetic deprecation notice — the dump still runs fine. Enter your MySQL root password when prompted and wait for it to finish.
Once done, verify it's not empty:
ls -lh /root/alldbdump.sql
A healthy dump will be several megabytes at minimum (depending on your data). A 0-byte file means something went wrong — don't proceed until this is solid.
Step 2 — Back Up Your MySQL Configuration
cp /etc/my.cnf /root/my.cnf.bak
Custom settings like innodb_buffer_pool_size, max_connections, or custom socket paths live here. The new install may overwrite it.
Step 3 — Back Up via the Webuzo Panel
In Admin → Server Utilities → Backup, run a full backup for all users. This gives you per-user database archives as a secondary safety net, separate from your SSH dump.
Step 4 — Install the New Version in Webuzo
In the Webuzo admin panel:
Go to Apps → Install Apps (or the System Apps section)
Find your target MariaDB version in the list
Check the "Force Install" checkbox — this is critical. Without it, Webuzo won't install over an existing database server
Click Install and wait for it to complete
The installer will stop the old MariaDB service, lay down the new binaries, and restart. Your data directory is left intact.
Step 5 — Run the Upgrade Tool
After the new MariaDB version starts up, run the upgrade utility to update system tables and validate your existing databases:
mariadb-upgrade -u root -p
This is safe to run — if your tables are already compatible, it changes nothing. If there are schema differences between versions, it handles them automatically.
Step 6 — Confirm the Upgrade
mariadb --version
mariadb -u root -p -e "SELECT VERSION();"
The first command shows the client binary version. The second confirms what the running server is actually on — that's the one that matters.
Then spot-check your websites and applications. Most PHP-based apps (WordPress, etc.) will reconnect automatically without any config changes.
If Something Goes Wrong
You have two restore paths:
Option A — Restore from SQL dump:
mysql -u root -p < /root/alldbdump.sql
Option B — Restore your config and reinstall the old version:
cp /root/my.cnf.bak /etc/my.cnf